Learning to swim as an adult: the order that actually works
The nine-step order that adult learn-to-swim instructors actually teach, why freestyle comes eighth, and what to do when fear of the water is the real obstacle.
Almost every guide to learning to swim as an adult opens with the freestyle arm stroke. That is the wrong end of the problem, and there is an official document that says so. U.S. Masters Swimming publishes a teaching guide for the volunteers who run adult learn-to-swim lessons, and its general progression has nine steps. Freestyle without breathing is step eight; freestyle with breathing is step nine. Everything a beginner actually drowns for the lack of sits above them.
This page walks that order — air, floating, standing up, gliding, the kick, and only then a stroke — and covers what to do when fear of the water, not technique, is the real obstacle.
Safety, before anything else. Learn in a lifeguarded pool, and never practise alone. Nothing on this page asks you to hold your breath for distance or time; deliberate breath-holding in water can cause you to black out without warning. If you have a heart, lung, ear or joint condition, or you feel pain in the water, clear it with a doctor before you start.
What "knowing how to swim" actually means
Knowing how to swim is officially defined as five survival skills, not as a stroke. The American Red Cross calls them water competency: step or jump into water over your head, return to the surface and float or tread water for one minute, turn around in a full circle and find an exit, swim 25 yards to that exit without stopping, and get out of the water without using the ladder.
Notice what is missing. Not one of the five names freestyle, breaststroke, or any stroke at all. Step four says swim 25 yards; it does not say how, and a competent dog paddle clears it. That is the most useful thing an adult beginner can know, because it moves the finish line from "my stroke looks like the fast lane" to something reachable in a season.
The gap between feeling like a swimmer and being one is measurable. In a Red Cross survey of 1,028 American adults conducted in February 2020, 85 per cent said they could swim, but only 56 per cent could perform all five basic skills.
Water Safety USA — the coalition of the Red Cross, the CDC, the USA Swimming Foundation and the YMCA — sets the same bar at 25 yards of forward movement, with 100 yards as the advanced mark, and adds a detail almost no swim lesson covers: being able to do all of it while clothed.
Why starting with freestyle is the mistake almost everyone makes
Freestyle is a coordination problem stacked on top of four skills you may not have yet. It asks you to exhale underwater on a rhythm, hold a horizontal position without thinking about it, keep a kick going, rotate to air on one side, and move both arms in opposition. Fail any one and the whole thing collapses at the same place: fifteen metres in, out of breath, standing up.
The USMS guide is blunt about where that comes from. It calls breath control "the foundation of good swimming" and says that without the ability to clear carbon dioxide and refill the lungs, muscle fatigue makes it impossible to keep going. The most common complaint it lists from adult students is the one people arrive with: I can swim, but I run out of breath by the end of one length. That is an air problem rather than a fitness one, and it has its own guide: how to breathe while swimming freestyle. So does the other classic, legs that sink behind you.
The order that actually works
Here is the nine-step general progression from the USMS volunteer teaching guide, with what each step proves. The guide's instruction is to start every student at step one regardless of what they arrive claiming, dog paddlers included.
| # | Step | What it proves |
|---|---|---|
| 1 | Bobs | You can exchange air with your face underwater, without needing to stay afloat at the same time. |
| 2 | Front float | Your lungs hold you up. You do not have to fight to stay at the surface. |
| 3 | Standing up | You can get vertical and breathing from a float, on purpose, whenever you want to. |
| 4 | Back float | You can see, breathe and call for help. This is the survival skill. |
| 5 | Front glide | You hold a streamlined line and travel without any propulsion at all. |
| 6 | Back glide | Same, on your back, with your airway out of the water. |
| 7 | Flutter kick | You add propulsion to a position that already works. |
| 8 | Freestyle, no breathing | You add arms, while air is not yet a variable. |
| 9 | Freestyle with breathing | The whole thing at once. This is where childhood lessons usually stopped. |
Notice how late propulsion arrives: steps one to six contain no swimming in the everyday sense of the word, and they are more than half the programme.
Step 1 — Breathing out, before anything else
The first skill is exhaling underwater, practised standing on the bottom while holding the wall so that floating is not yet part of the problem. Bend at the knees, put your head fully under, blow all your air out through your mouth, stand, breathe in through your mouth. The USMS guide asks for at least ten of these at the start of every lesson.
Instructors are told to watch for two things. Watch the bubbles: they should be explosive, not a trickle, because a trickle does not empty the lungs. And listen when the head comes up: you should hear an inhale only. If you are still blowing air out when your face is clear, the timing is wrong and you will be short of breath within a length.
Breathe out through the mouth or the nose, but always breathe in through the mouth. If water keeps going up your nose, blow out through it too; a nose clip is a reasonable fix in stubborn cases, and pinching is not, because you cannot pinch and swim at once. Wear goggles from day one — the guide tells instructors to encourage it for every student.
Step 2 — Floating, and why your lungs are the flotation device
You float because a full set of lungs is a large volume of air inside your chest. The USMS guide has instructors say this out loud before the first attempt, and notes that fearful swimmers in particular have often never considered it.
The front float is done at the wall: back away until your arms are straight and you lean into it diagonally, take a big breath, put your face in so only the back of your head shows, and hold. Count. If you do not float, press your chest down into the water and add a gentle kick — the standard fix for less buoyant bodies, and the same press that keeps hips up in freestyle.
The back float matters more, and the guide says why in one sentence: on your back you can see where you are, breathe normally, and call for help. The cue is head back, belly up. If your head comes up and your hips drop, that is the fetal position — an instinctive fear response, not a technique error — and the answer is to go back to the wall and relax, not to try harder.
Step 3 — Standing up is the skill that removes the fear
Getting from a float back to standing is a taught skill with a taught technique: push down with both hands, lift your head and bring both knees to your chest at the same time. Practise at the wall first, then floating away from it. The common error is bringing one knee up and leaving the other leg trailing.
This step is worth more than its position suggests. Fear in shallow water is rarely fear of the water itself — it is fear of not being able to get back to air on demand. Once standing up is automatic, a float stops being a commitment and becomes something you can undo. The guide's advice early on is to stand as soon as your feet leave the bottom.
Steps 4 to 6 — Glides and the kick
The front glide is the first time you travel. Hold the gutter with one hand, both feet on the wall, the other arm pointing down the lane; take a breath, face in, push off and stack one hand's fingers over the other's. Elbows straight, biceps squeezing the ears. The back glide is the same idea face-up: ears in the water, hips lifted to the surface, arms at your sides, a gentle push off.
The flutter kick comes next, at the wall. Fast, even and small — feet spreading no more than about a foot. Knees straight but loose, ankles floppy, as though shaking off a shoe that will not come off. If your feet break clear of the surface on your front, or your knees break it on your back, the knees are bending too much. A kickboard is the obvious prop, and whether kickboard work is worth it makes the case both ways before you spend whole sessions behind one.
The caveat nobody mentions. The USMS guide states plainly that some adults do not have the ankle flexibility a functional flutter kick requires, and that for a percentage of adults the breaststroke kick is the better alternative when the flutter kick produces no forward momentum. If you kick hard and go backwards, you are not doing it wrong. You may just need a different kick.
Steps 7 and 8 — Freestyle, split in two
Freestyle is taught in two halves so only one thing is new at a time. First, freestyle without breathing: push off in a glide, start the kick as soon as your feet leave the wall, then stroke, and swim as far as one breath comfortably takes you. Reach long in front, hands down the side of the body, stretch towards the thigh, recover with a high elbow. Head neutral, looking below you. Coaches are told to give no more than one or two corrections per attempt; give yourself the same limit, because six things to fix is nothing to fix.
Then breathing gets added at the wall, not mid-pool. Hold the wall with one hand and stroke with the other: when the stroking hand is up by the wall, you are blowing out with your face in the water; when it is down by your side, you turn and breathe. On early attempts look at the ceiling to clear the water from your mouth, ear staying in the water. Do not look forward. Only then take it into the lane, blowing out from the first stroke, adding one breath at a time.
If fear of the water is the real obstacle
If the water frightens you, the progression above is not your starting point. The USMS guide keeps a separate seven-step sequence for fearful adults that begins out of the water entirely and only reaches floating at step seven — and its own note to volunteers is that five lessons will probably only get as far as step five, walking along the wall. We walk through that sequence step by step, with the safety limits and the referrals it calls for, in being afraid of the water as an adult.
When to hand this to a specialist. If the water is tied to a traumatic experience, to panic, or to a health condition, work with a certified adult learn-to-swim instructor and, where the fear is severe or distressing, with a qualified mental health professional. This is not a thing to solve from a web page.
How long does it take an adult to learn to swim?
Nobody publishes a verified figure, and the numbers you will find — twenty hours, ten lessons, three months — come from swim schools rather than from federations or researchers. The only documented pace estimate is the USMS one above: five lessons with a fearful adult typically reach step five of seven.
What can be said honestly is that the two ends of the range are enormous. An adult who is comfortable in water and never learned a stroke is working on a coordination problem measured in weeks; an adult frightened of putting their face in is working on a trust problem measured in months. Anyone quoting one number for both made it up. For scale, USMS says about one third of adults in the United States cannot safely swim the length of a pool. Nor is age a wall: Masters age groups race adults in five-year bands.
Adults, children, and which stroke to start with
Learning as an adult is different rather than harder. An adult can follow a verbal instruction and practise a drill deliberately; what they carry instead is a clear idea of what drowning is, and a habit of analysing a movement instead of feeling it. Of the four kinds of adult student the USMS guide describes, two are defined by breathing and fear rather than technique. Beyond that, the claim that adults learn faster or slower than children is coaching consensus rather than measured fact, and our editorial policy says how we keep the two apart.
The same caution applies to stroke choice. Breaststroke is the usual recommendation because the head stays above water, but that too is consensus. The documented case for it is the ankle-flexibility caveat above, and the breaststroke kick guide picks up from there: if you have kicked honestly and gone nowhere, switching is not a compromise. The four strokes are laid out in our technique guide.
How to tell you are actually improving
Beginners measure improvement in feelings, which is why so many quit convinced they are getting nowhere. Numbers fix that, and they arrive in a specific order. Do not reach for the later ones early: a pace number from a swim you had to stand up in the middle of is meaningless.
| Where you are | What to measure | Tool |
|---|---|---|
| Working on floating and bobs | Seconds floating, relaxed, no help from the wall | A clock on the wall is enough |
| Can swim a length, stopping at each end | Strokes per length. Fewer strokes at the same speed is real progress | SWOLF calculator |
| Can swim 100 m continuously | Time per 100, and how much slower the fourth 25 is than the first | Pace calculator |
| Can swim 400 m continuously | Your sustainable pace, and the training zones built from it | CSS calculator |
Start with SWOLF: it adds your time for a length to your stroke count, so a longer stroke drops the number before your speed has changed at all. Once you can hold a continuous 100, the pace calculator tells you what your splits mean and what an average 100 m time really is puts them in context. The next milestone is a continuous 500. At 400 m unbroken, the critical swim speed test becomes the number worth training against and the workouts section turns it into sessions; until then, structured beginner sessions beat counting lengths until you get bored.
A 25 m pool and a 50 m pool are different problems
For a beginner, a short course pool is not simply a smaller version of a long one. In a 25 m pool the wall arrives every twenty seconds or so: a place to stand, a place to catch your breath, and a push off that restarts your body position for free. In a 50 m pool you are committed for twice as long. Train wherever you have access, but do not read a slower long course time as regression: the difference is structural, and most of it is the turns you are no longer taking. Our course time converter handles 25 yard, 25 m and 50 m pools, and the times section explains the gap.
Safety: the rules that do not bend
Drowning is not a rare event. The World Health Organization estimates around 300,000 drowning deaths a year worldwide, and lists teaching basic swimming and water safety skills among the interventions that reduce it — but only on the explicit condition that it be done with safety-tested curricula, a safe training area, screening of students, and student-to-instructor ratios set for safety. The endorsement is of well-run lessons, not of lessons in general.
- Never practise alone. Use a lifeguarded pool. Every skill on this page, floating included, is one you are by definition not yet good at.
- Never hold your breath for distance or time. No underwater lengths, no competitions with a friend, no hypoxic sets. Blacking out underwater happens without warning and without a struggle to attract attention.
- Blow the air out. Every breathing drill here is about exhaling, not holding. If a drill becomes about how long you can go without air, you have drifted into the previous point.
- Stay where you can stand, until standing up is automatic. Depth is a skill you add on purpose, not one you discover by accident.
- Pain is a stop signal. Shoulder, neck, ear or chest pain in the water means stop and see a doctor or physiotherapist. No drill here is worth swimming through pain for.
What to do in your first four sessions
Keep it short and repeat it. Thirty minutes is plenty, and the same session done four times beats four clever different ones. Start each session with ten bobs — the one thing the teaching guide asks for every single time.
- Session one: ten bobs. Front float at the wall, counting seconds. Standing up from the float, at the wall, until it is boring. Nothing else.
- Session two: ten bobs. Front float away from the wall, standing up as soon as your feet leave the bottom. Back float at the wall — head back, belly up.
- Session three: ten bobs. Back float until you can hold it relaxed. Front glide and back glide, pushing off gently, no kick.
- Session four: ten bobs. Glides with a flutter kick added. If the kick produces nothing at all, try a breaststroke kick before assuming the problem is you.
Freestyle waits until glides and the kick feel unremarkable, and then comes in the two halves above: without breathing, then with. The technique section covers the stroke in detail.
Every claim about teaching order here comes from the U.S. Masters Swimming Adult Learn-to-Swim volunteer teaching guide; every claim about what counts as competent comes from the American Red Cross and Water Safety USA. Where a statement is coaching consensus rather than measured evidence — the relative learning speed of adults and children, and breaststroke being easiest for beginners — it is labelled as such in the text.
Frequently asked questions
Can a 50 year old learn to swim?
Yes. Nothing in the learn-to-swim progression depends on age, and U.S. Masters Swimming runs adult learn-to-swim programmes precisely because roughly a third of American adults cannot safely swim a length. The realistic constraints at 50 are joint comfort, ankle flexibility for the kick, and consistency of practice, not capacity to learn.
What should an adult learn first when learning to swim?
Breathing out underwater, practised standing on the bottom while holding the wall. The U.S. Masters Swimming teaching progression starts every adult with bobs: submerge, blow all your air out through your mouth, stand, breathe in. It isolates air exchange so you are not learning to breathe and to stay afloat at the same time.
Is it harder to learn to swim as an adult?
It is different rather than harder. Adults follow instructions and practise deliberately in ways children cannot, but they also understand what drowning is and tend to overthink movements. Two of the four adult learner types in the USMS teaching guide are defined by breathing trouble and fear, not technique, which is where the difficulty actually sits.
What is the easiest swimming stroke to learn for adults?
Breaststroke, because your head can stay above the water and breathing is not tied to a body rotation. That is coaching consensus rather than measured evidence. There is one documented reason to prefer it: USMS names the breaststroke kick as the alternative for adults whose ankle flexibility prevents a flutter kick generating forward motion.
How many lessons does it take an adult to learn to swim?
No federation or research group publishes a verified figure, and the numbers circulating online come from swim schools. The one documented pace estimate is from USMS: across five lessons with a fearful adult, an instructor will typically reach step five of a seven-step sequence, which is walking along the wall with a wet face.
Sources
- Adult Learn-to-Swim Volunteer Teacher Swim Lesson Guide — U.S. Masters Swimming
- Adult Learn to Swim (ALTS Central) — U.S. Masters Swimming
- 5 Skills to Save Your Life in the Water — American Red Cross
- Water Competency — Water Safety USA
- Drowning (fact sheet) — World Health Organization
Read next
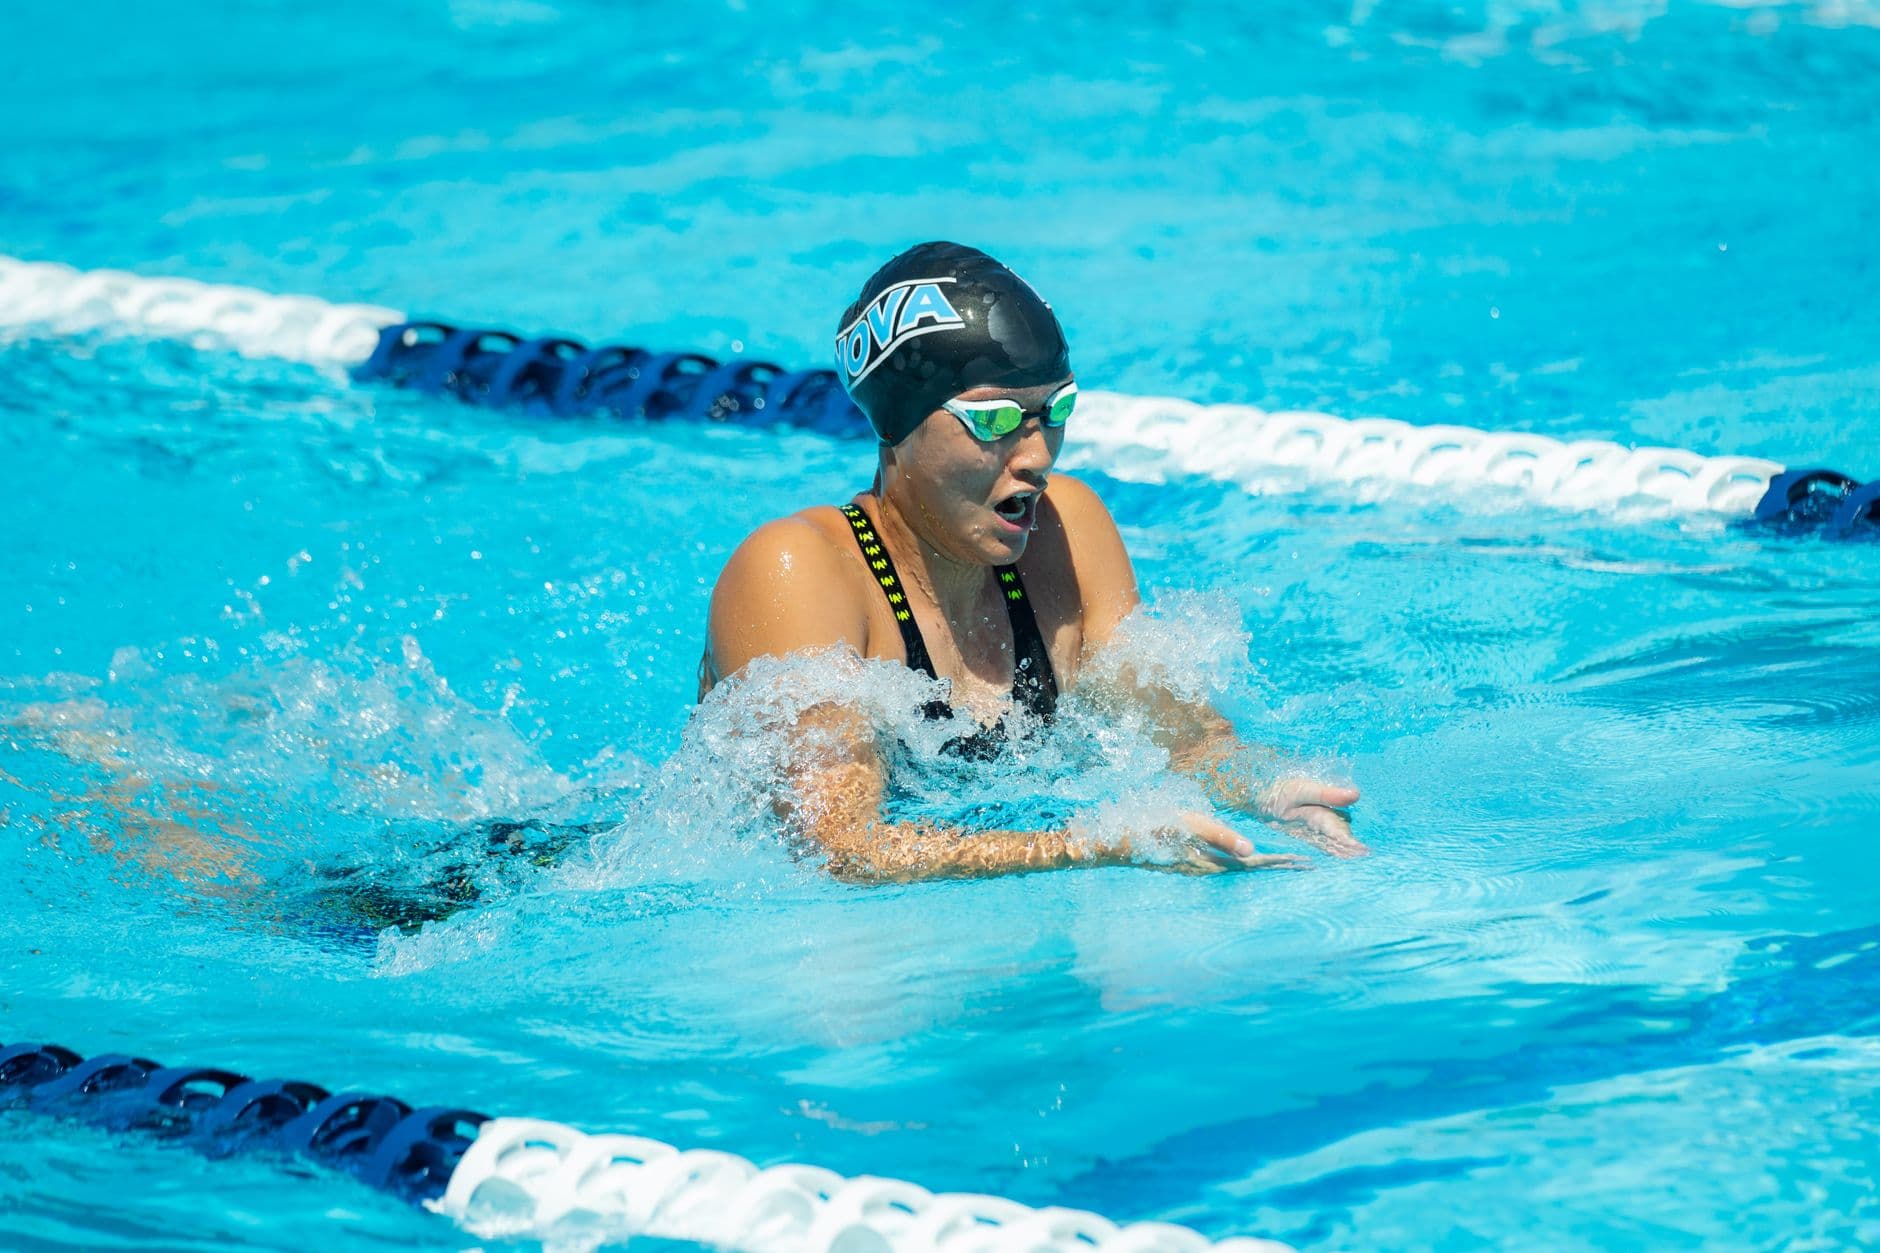
The breaststroke pullout: the legal sequence, in order
One arm stroke, one dolphin kick, one breaststroke kick — and a rule that ends the pullout with a stroke, not a 15 metre mark. The sequence, and what gets called.
How to tread water without getting tired
Treading water has a measured energy cost, and the technique everyone recommends is the one that tires beginners fastest. What the research actually found.
Chlorine, hair and skin: what it does and what actually helps
What chlorinated pool water really does to hair and skin, why the green tint is copper rather than chlorine, and which protective steps have evidence behind them.
SwimFast is an independent publication. We are not a swim school, a coaching service or a governing body, and nothing here is medical advice. Training paces and test protocols are cited from the published research or federation documents linked on each page. Never swim alone, never attempt breath-hold work without supervision, and check with a doctor before starting a new training programme.